ASOLO RESOLING SERVICE
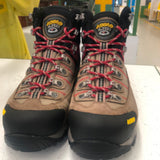
Do you know that all Asolo boots can get resoled?
All the Asolo boots and shoes are thought, designed and engineered to get resoled.
At Asolo since the beginning we have always offered the resoling service, but today we made a step forward by being the first Outdoor Brand who digitalized the service.
REQUEST THE RESOLING SERVICE
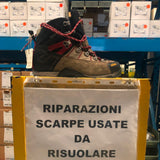
Are you curious to discover how the resoling works?
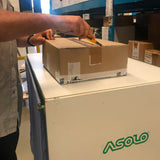
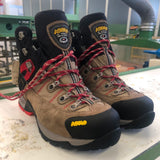
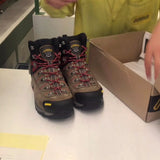
1. ARRIVING & UNBOXING
All of the boots accepted for the resoling service arrive at our Italian Headquarter where we start by identifying the resoling order linked, the precise model of the boots and the correct size of them. Each pair is identified by a specific label with all of this information.
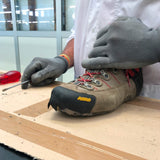
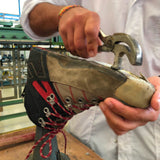
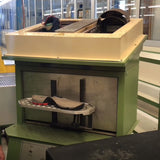
2. REMOVING THE OUTSOLE & TOE CAP
As a first step for the resoling, we put the boots in a warm machine that makes the rubber softer; this will make it easier to remove the outsole, the midsole and the toe rubber cap or rubber rand.
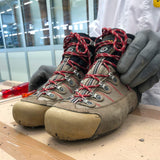
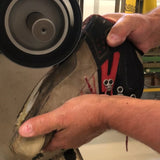
3. CLEANING & CHECKING
We proceed with cleaning the boots by removing the residuals of the original outsole package; firstly, the bottom of the boot and then the toe cap area with a softer cleaner.
The workers also check if all stitchings and the back part are all fine.
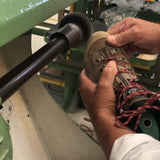
4. BUFFING
Before proceeding with the application of the new outsole package, the bottom part and the toe area are buffed for removing any additional material.
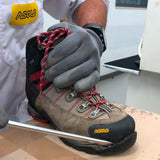
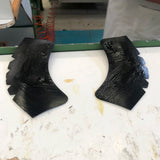
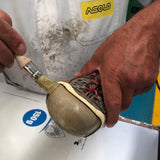
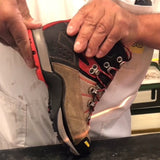
5. APPLYING THE TOE CAP
The new toe caps are first cleaned and then the glue is added while on the boots a band is added around the toe cap area in order for the glue to not overlap on the leather and then the glue is added. After waiting the glue to dry, we reactivate it through a warm machine and we apply the toe caps on the boots.
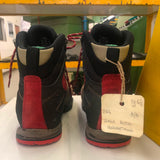
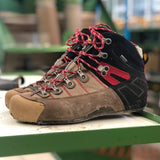
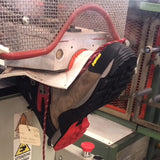
6. APPLYING THE OUTSOLE
Before proceeding with the application of the outsole, we first need to prepare the boots by buffing the bottom of the boots for removing the additional rubber of the toe rubber cap, the suede leather around and the new midsole. Also at this step a band around the boots is added in order for the blue to not overlap and possibly damage the leather. After adding the glue and waited for it to dry, we reactivate it through a warm machine. The boots can then finally get assembled with the new outsole package. More, for allowing the glue to completely cementing on the boots we add them on a specific cold machine.
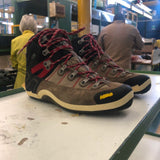
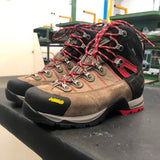
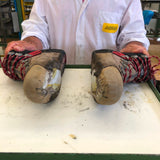
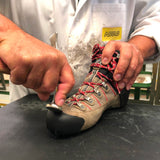
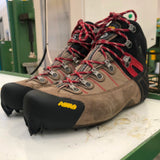
7. FINISHING STEPS
We remove the last from the boots before to bring them to the finishing department. The upper part of the boots is then ironed with a special machine. A new internal footbed is put inside the boots and the boots are laced up with new laces.
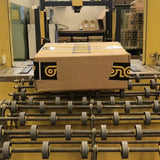
8. SHIPPING BACK
The boots are then transferred to Logistic Department and they are now ready to shipped back. You will receive at this step the tracking number for monitoring the shipping. In 47/72 hours, the boots will be back to you ready for new adventures!
 SHIPPING
 CONTACTS